this blog is a record of the house that I helped to build along with my class during the Carpentry pretrade course I did at SIT chch

Thursday 31 May 2012

Architraves and skirting

Today I continued with the work we started yesterday and I did some architraves around the wardrobe and door in the room that Warner and I have been doing, once this was done we started on the skirting around the base of the walls, this was done by square cutting the longest wall in the room the scribing the internal corners and mitreing the external ones.
before we started James showed us how to scribe skirting on some colonial skirting as this is one of the hardest to do.
James showing us how to cut skirting
scribing the joint
the finished result
Me test fitting the architraves
nailing on the sides
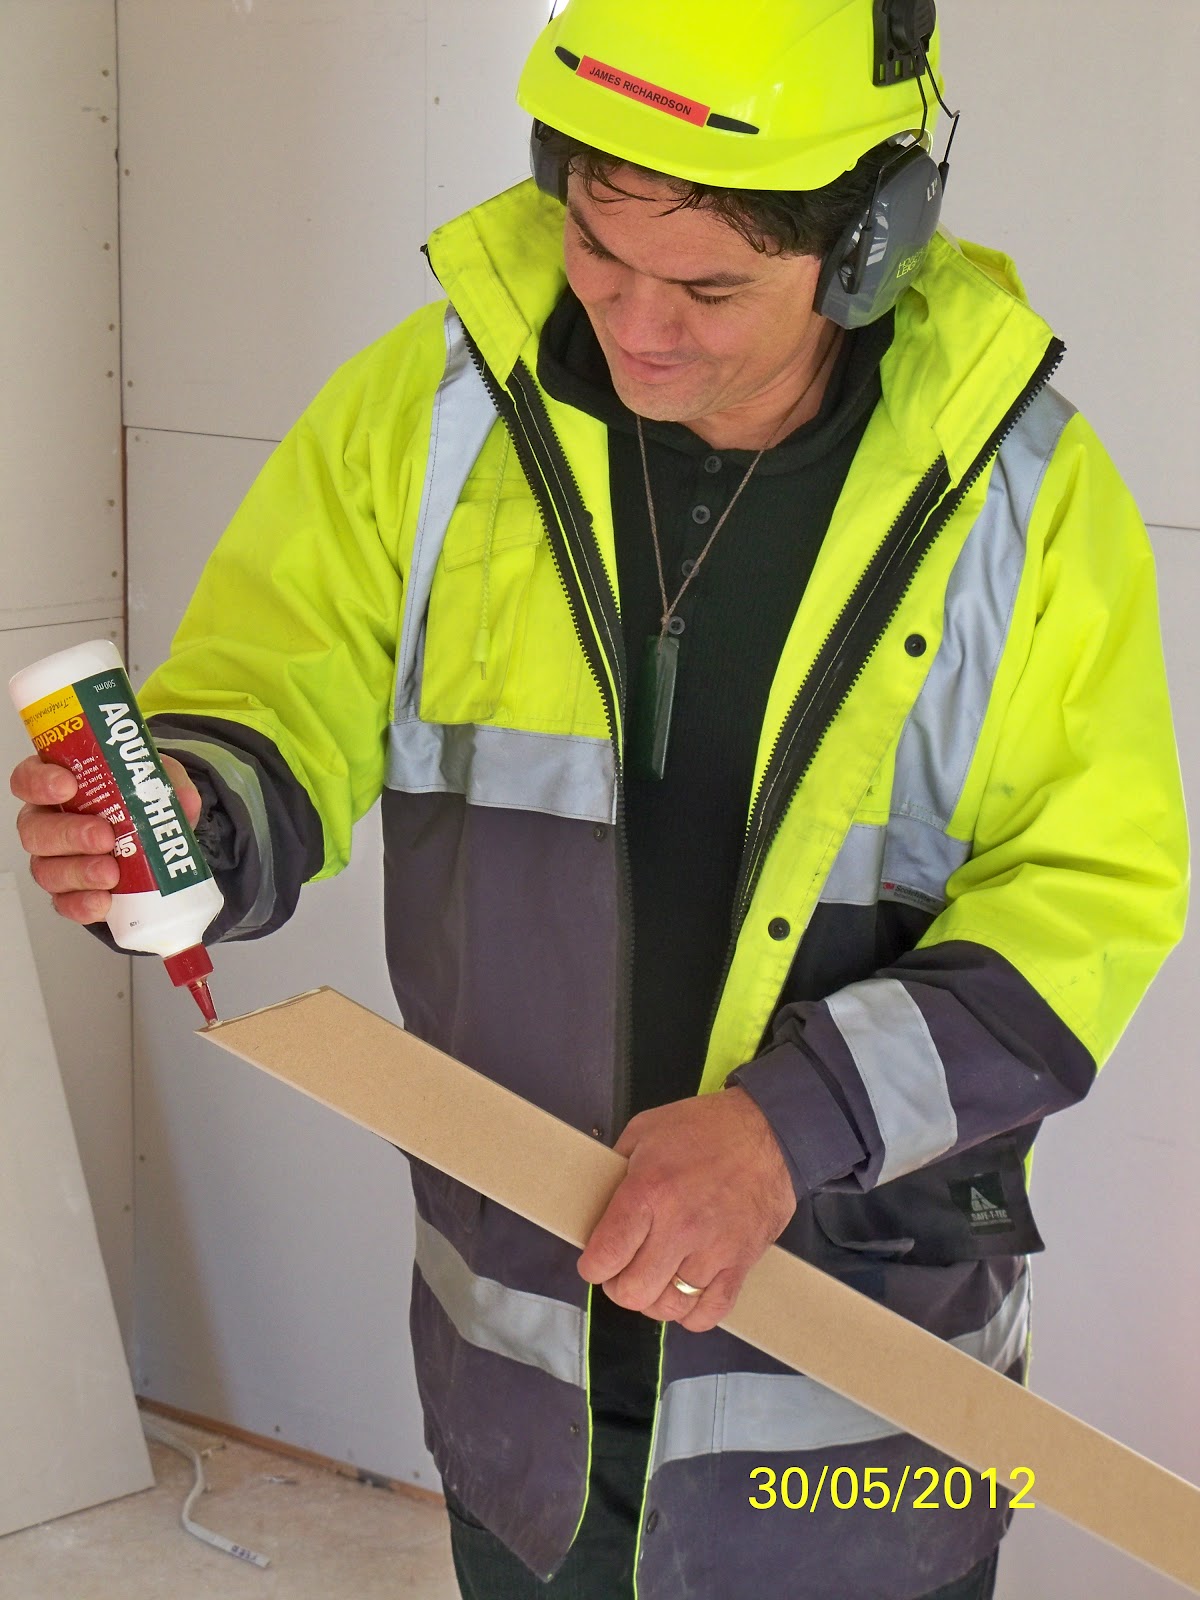
glueing the joints at the top
fitting it in and nailing it off
the finished door and wardrobe architraves
door and wardrobe
Me cutting the scribe on the skirting
using the coping saw to finish off
fixing it in place
the finished skirting
internal corner 
external corner

Wednesday 30 May 2012

Architraves and ceiling man hole

At this stage of the build we are upto doing the finishing work as the course finishes next week so the build is nearly done.
Today we learnt about Architraves for the doors and windows, Our tutor James took us though the process of measuring, cutting and fitting them as you will see in the first photos.
Warner and I had the job of cutting out, framing and finishing the ceiling man hole, this was done using the same method using architraves, because the hole was slightly out of square I had to pack out and scribe the architraves so as to get the correct querk.
James measuring and marking out the querk
fixing top and side in place
A very tidy Mitre
Applying PVA glue to the mitres
Finishing it off
Warner measuring the man hole for framing it up
The Man hole framed out
the lip for the door in place
the Architraves finished

Friday 25 May 2012

Ceiling linings

In this post now that I have some photos I will go back and explain aboout the ceiling linings that we put up.
We used 10mm standard GIB that is 1.2m wide that we screwed 300mm centers using a power screwer with with GIB glue on the ceiling batterns, where we joined 2 sheets across a long room such as the lounge we used a glue covered panel behind the joint line as you will see in some of the photos.

Me putting the glue up
Me using the power screwer
Tutor James showing us how to join sheets
holding it up
putting the panel up making sure the light wires protrude through the holes
getting it in place
James showing us how to get the edges to line up tightly
Me screwing it off while the others hold it
screwing on some batterns to support the joint until it dries
finished job

Thursday 17 May 2012

Interior wall lining (GIB)

Because I forgot my camera while we were doing the ceiling and i'm waiting to get some photos from one of the other students I will carry on with the wall lining, I will post about the ceiling when I have the photos.
We have been doing this over the last couple of days, we are using 10mm standard GIB  fixed horizontally, some of the walls are bracing panels and have required nail spacings as you will see in one of the photos.
We screwed the ceiling but nailed the walls using standard 30mm GIB clouts at 300mm centres for standard panels and 150mm centres for bracing panels with glue behind.

the corner of our room pre GIB
Some of the team marking a panel out with Tutor James watching

Warner and I lifting a panel into place
ready to fix
Warner holding, me fixing top
Warner fixing the bottom
About to start the wardrobe
Me fixing the side of the wardrobe
the wardrobe finished
covering the exposed Lintel 
nailing of the Lintel GIB
The room finished
Compare with photo 1
Bracing panel nailing pattern in corner
starting on the hallway
the Hallway with first panels up