this blog is a record of the house that I helped to build along with my class during the Carpentry pretrade course I did at SIT chch

Thursday 28 June 2012

week 2 of the new job

I'm still working at the same house that I was last week, this week we finished lifting all the pavers and started ripping up the tiles in the inside, this was the fun part, getting to smash them with a Kanga hammer.
We also removed the bricks from the rear of the house and upgraded the bracing by fitting multibrackets to help bring the house up to the current standerd before recadding in Ecoply to weather proof it.

view from the house looking down on Christchurch estury
Patio with pavers removed
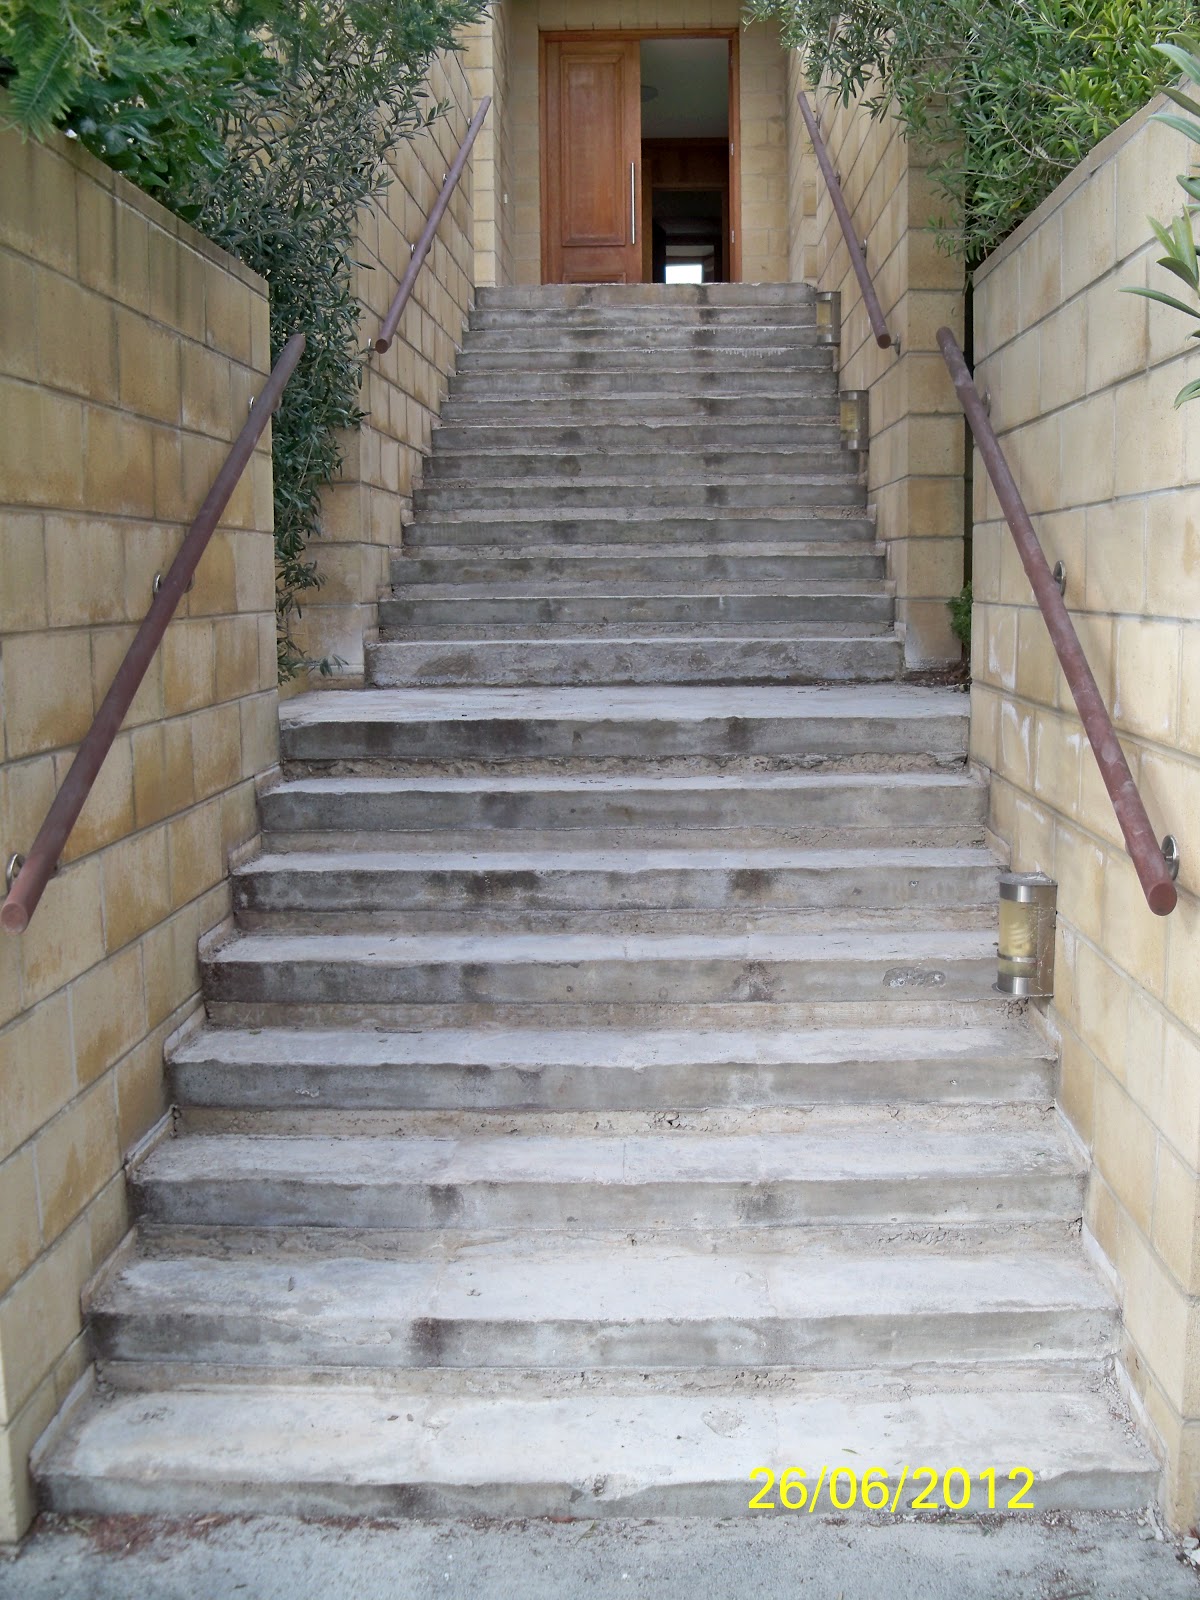
stairs with pavers removed
removing bricks from rear of the house
Handybracket with Dynascrew about to go in
Wall with bricks and paper removed
Moleseal around floor slab 
getting ready for the Ecoply
with the Ecoply on
Tape sealing verticle joints
Starting to take up the tiles in thw foray
Me taking up tiles
finished result

Wednesday 20 June 2012

starting my new apprenticeship

This week I started my new apprenticeship with Whyte construction, On Monday and Tuesday I was working with a crew doing tiling at a local hair dressers.
measuring and cutting tiles for front step

the floor inside

Today I was working with another crew doing some demo on an earthquake damaged house that also had moisture damage, this involved cutting out GiB, grinding out and lifting pavers and ripping down GiB in the kitchen ceiling.

water damage in garage


Sam cutting out Gib to expose the water damage


exposed concrete ceiling with Rondo GiB hangers

the area above the garage having the pavers lifted to expose  DPM

area to be removed

Me cutting out grout
really dusty work
Kitchen ceiling to be removed
me ripping down the GiB
kitchen with Exposed Rondo GiB hangers

Saturday 9 June 2012

Door knobs

As the last part of the last job we had as a class on the house was to install door knobs, unfortunatly due to heavy unseasonal snow we lost 2 of the last three days from the course so we only had time for our tutor James to show us how it was done, this you will see in the photos.
removing door stop.
Marking out area to be chised out, note it was funny moustache day
chiseling out recess for latch
fitting latch
screwing it in place
fitting the knobs
latch with knob shaft
screwing on the knobs
chiseling out for striker plate
screwing striker plate on
refitting the stops
the other side
the finished job